
Everyone knows the dangers of flooding, but most don't fully grasp how damaging it can be until it’s too late. Floods can damage your foundation, floors, electrical system, appliances, and so much more. Water damage from flooding can lead to mold and mildew issues, creating severe health risks. Not only is flood damage physically damaging, but it is also emotionally damaging, and the financial costs can be astronomical.
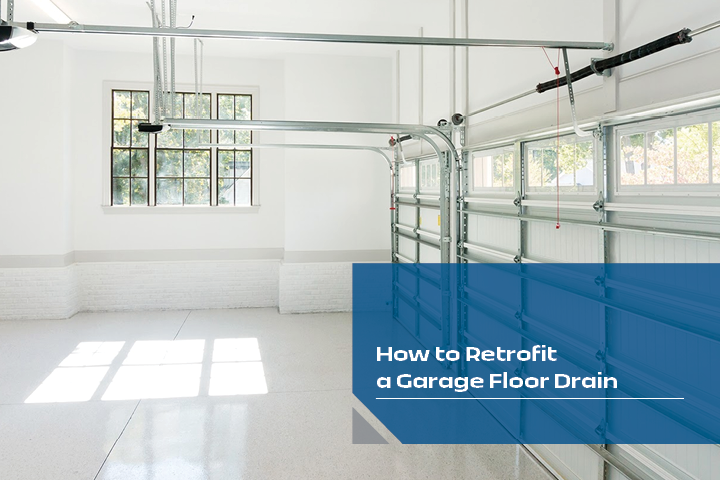
A reliable drainage system can protect your home or business from severe flood damage–but you can't overlook areas like the garage, which is also susceptible to flood damage. You may have to retrofit a garage floor drain, as they don't always have systems installed. Fortunately, Slot Drain's system is an easy-to-install retrofit floor drain option.
What is Slot Drain?
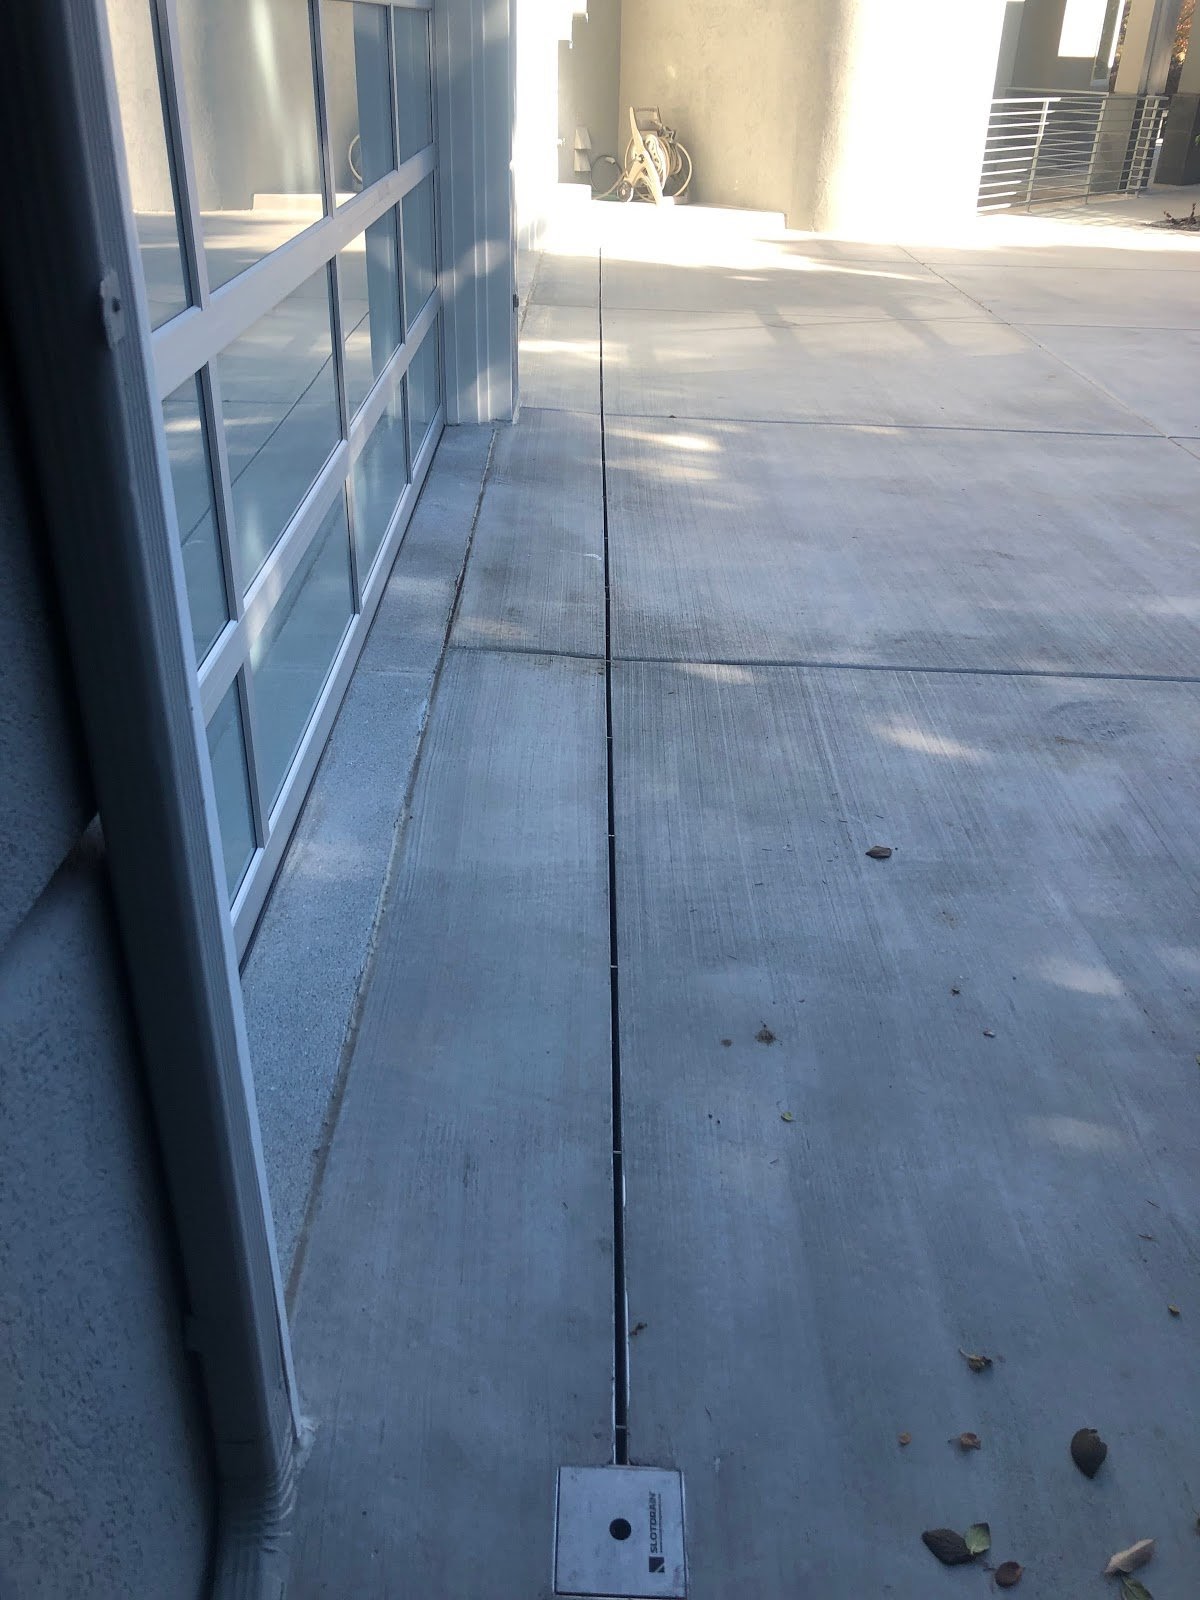
Slot Drain is a modern take on the traditional trench drain system. It is a linear system that comes pre-sloped and pre-assembled, making both installations and retrofits much easier. Unlike traditional systems, Slot Drain features a sleek design that blends seamlessly with the floor, becoming virtually unnoticeable due to the lack of grate coverings.
The 6,000 and 7,000 Series systems are the primary options for residential applications, including garage drainage. Slot Drain's 6,000 Series model offers a galvanized steel option, while both offer a more durable and corrosion-resistant stainless steel. There is no need to be concerned with the system breaking under the pressure of vehicles or other things stored within the garage with a heavy-duty load class. Slot Drain is also very easy to maintain, so homeowners do not have to worry about taking too much time cleaning the system.
Steps to Retrofit Slot Drain Floor Drain Systems
%20(1).png?width=1958&name=Screen%20Shot%202020-06-05%20at%2011.10.13%20AM%20(1)%20(1).png)
Slot Drain comes both pre-sloped and pre-assembled, so you can move straight to installing it as a retrofit floor drain in your garage. To complete the retrofitting correctly, you want to ensure you have all the necessary equipment:
- Jackhammer
- Drill
- Dowels
- Concrete trowel
- Straight Edge
- Plumb level
- Rebar
- Water
- Tape measure
- Chalk Line
- Premixed concrete
- The first step in installing a retrofit garage floor drain is to determine the desired location of the drain on the existing concrete slab and mark it, so you know where to cut.
- Cut a trench that is 24" wide, where you marked the desired location.
- Excavate the trench, allowing enough room on all sides of the Slot Drain. The system should have a minimum of 6" of concrete around the drain.
- Once the trench is the appropriate size, drill holes and place dowels into the sides of the slab. Both sides should be approximately 16"-24".
- While not required, consider pre-pouring a concrete slab underneath the drain pit to ensure it is adequately secured. If you choose to forego a concrete pad, secure the sump pit using the included flat bar mounting brackets.
- At this point, you can install the Slot Drain, taking the time to ensure you have reinforced the pit walls enough to prevent the sidewalls from bowing.
- Once in place, you can begin securing it fully by bolting the drain's last section of the drain to the pit. If there is no drain pit, you still start bolting the drain at the deepest section. Then, you will bolt all the remaining sections of the system using the numbered flanges as a guide.
- To set the drain at the desired elevation, use wooden stakes and secure them to the drain using the mounting holes provided on the included leveling brackets.
- Once the Slot Drain is fully secured and at the desired elevation, you can tie the rebar from the dowels and floor grid to the rebar on the actual drain assembly. Once the rebar is secure, cover the drain opening with styrofoam, duct tape, or another material to keep concrete from getting in.
- To prevent the drain from floating, the new concrete should get poured in two separate stages. Pour the first half of the slab, and give it adequate time to set before pouring the second portion. A pencil vibrator will help ensure that the concrete is completely surrounding the Slot Drain, with no bubbles or voids.
- Once the new concrete slab has set, you can remove the drain protection and break all the metal tabs to ensure a continuous opening. Then, using the paddle tool, clean out the Slot Drain of any remaining debris.
After that, the retrofit garage floor drain install will be done, leaving you with a fully protected garage.
Keep Your Garage Protected From Flood Damage
Drainage is an essential part of any structure and is one of the primary defenses against flooding. Garages are no different than homes and businesses; they require the same protection to keep the space safe and dry, but drain systems don't always come pre-installed on the garage floor. A retrofit floor drain from Slot Drain is an easy installation that can help save you thousands of dollars in damage. Take your time to do the job right, and your garage will be safe from any future flooding.
Contact the drainage experts at Slot Drain today for more information on garage floor drainage.
